There are dozens of yogurt methods out there, and I tried many without success when I started making yogurt. Then I stumbled onto kitchenstweardship.com and found an easy, predictable method. I used it for 3 years, but needed to find a new way to keep the fermenting yogurt warm when my oven light burned out. Now I've combined different methods and hit on a really simple one that makes thick, delicious yogurt with less mess!
Anyone can make yogurt. No fancy machines are needed! Just a couple of pots and some milk. Homemade yogurt saves you money, since it's just the cost of the milk. We used to spend $5 a quart on yogurt, but now we spend $1.75 for twice as much!
Here we go:
Anyone can make yogurt. No fancy machines are needed! Just a couple of pots and some milk. Homemade yogurt saves you money, since it's just the cost of the milk. We used to spend $5 a quart on yogurt, but now we spend $1.75 for twice as much!
Here we go:
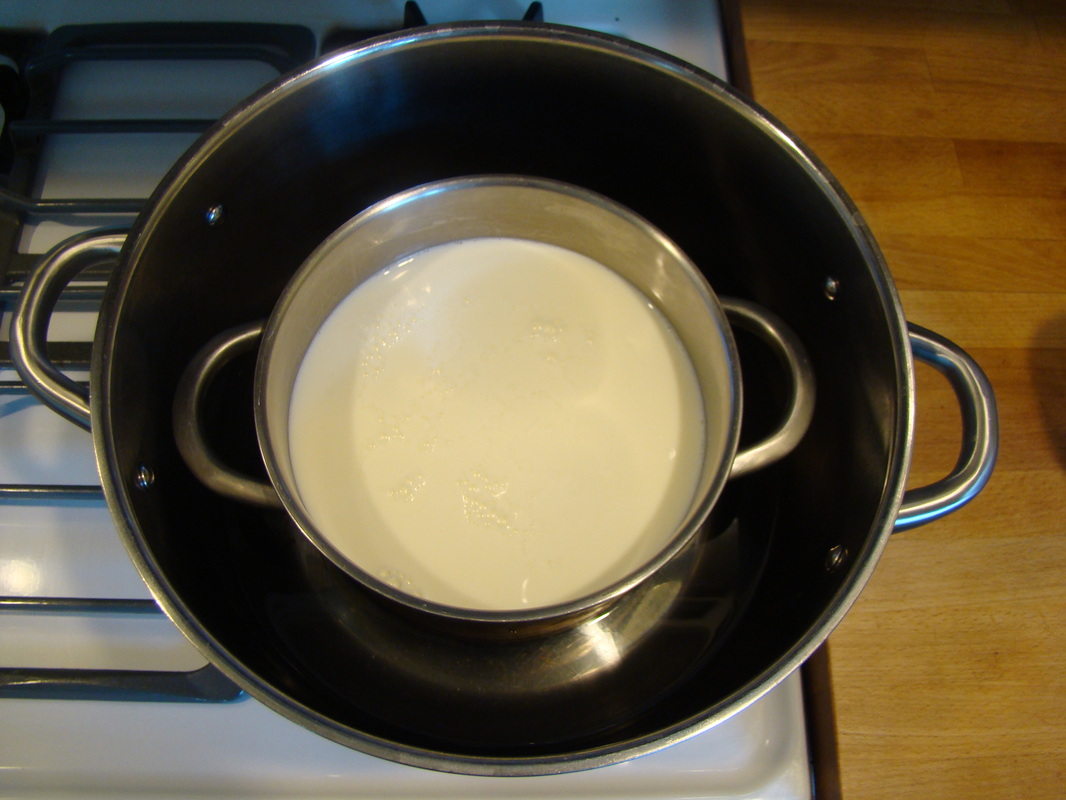
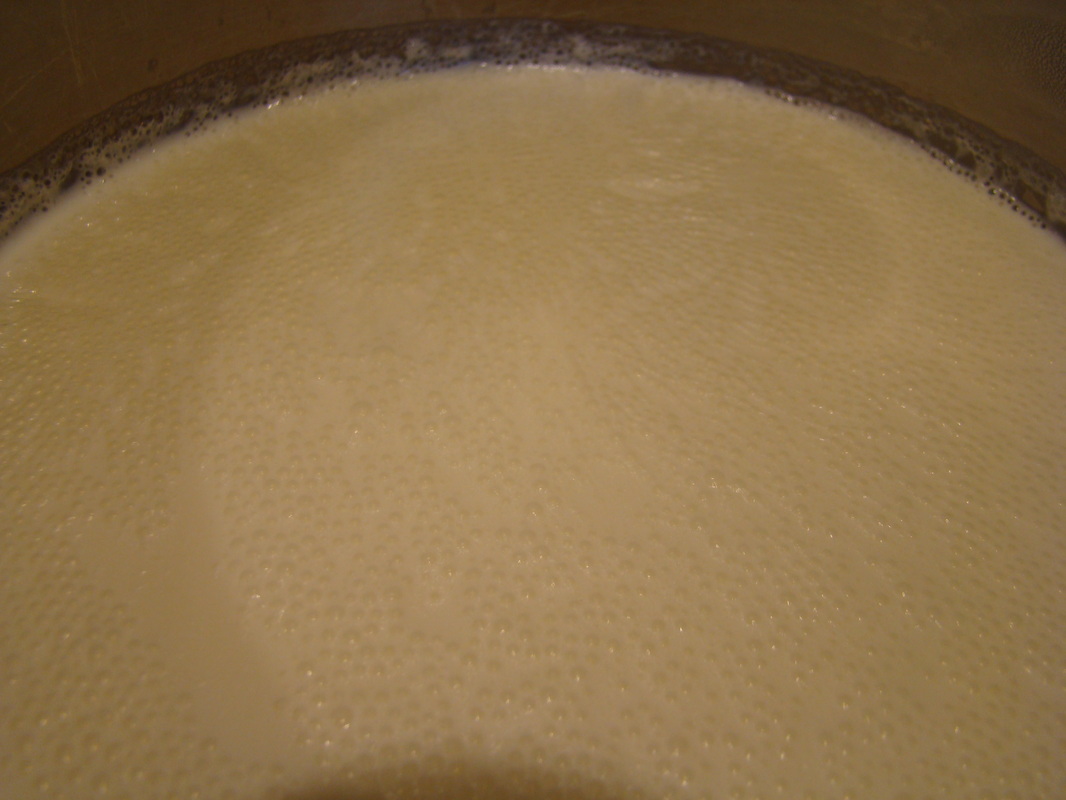
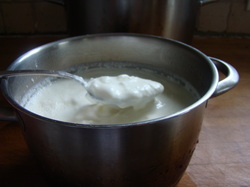
Put the milk in a smaller pot, and place that pot in a larger one, with a couple inches of water in the large pot. The milk will be heated without risk of burning, and no need to stir! (I hate things that need to be stirred, since my kids have a built-in radar that tells them to suddenly have an emergency when I make these things.) Heat it until the milk has a skin on top, like this:
Now you can remove the smaller pot and set it aside to cool. Throw away the skin, so the milk can cool faster. You want it to feel lukewarm, colder than your skin. It'll take an hour or so. If you're in a hurry, replace the water in the big pot with lukewarm water and use that as a cooling bath for the small pan.
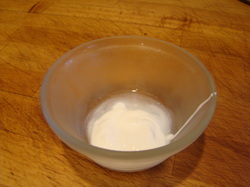
Next, you need to put some yogurt in the milk to culture it. Use some from a previous batch. If this is your first time, get plain yogurt with live cultures at the store. Recipes tell you to use large amounts -- anywhere from a tablespoon per quart to 1/4 cup per quart. I now use just a small spoonful. I don't bother measuring, just scoop a teaspoon or so with a regular spoon. I use that in a half gallon of milk (you could use that in a quart, if that's how much you're making.) I save the starter culture in this little dish so it's ready for the next batch. Gently stir it into the pot of milk.
Now it needs a warm resting place in order to become yogurt. If you have an older gas oven, it may have a pilot light that keeps it warm when the oven isn't on. Stick the small pot in there, covered with the lid. (If you're like me, stick a post-it on top of the oven knobs so you don't turn the oven on while it's in there!) You may not have a pilot light, but your oven light will keep it toasty enough. Set the covered pot in there with the light on. My light burned out after 2 1/2 years, though, and we can't figure out how to get the special cover off it. In the winter, I set the pot by the wood stove. You could also put it in a cooler with a jar of boiling water.
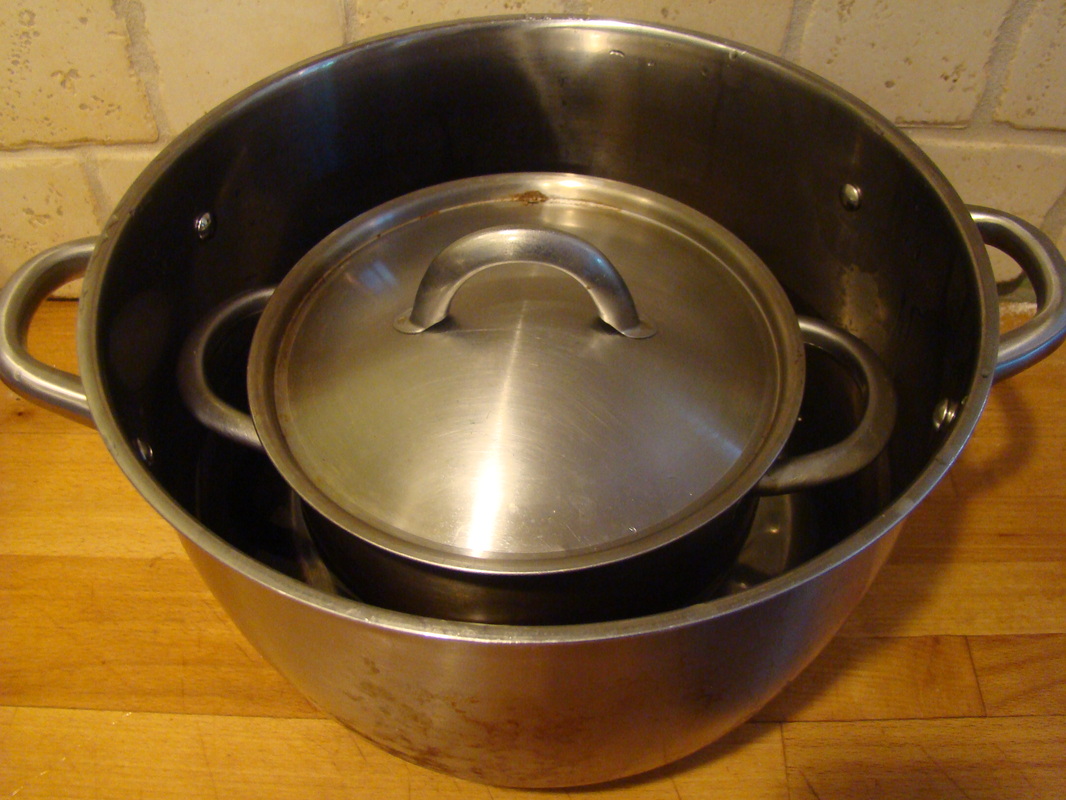
Without a pilot light, oven light, large enough cooler or woodstove heat (it's May), I came up with a simple incubation trick. Put the small pot back inside the large one, and put some very hot tap water in the big pot. Then insulate it with a towel:
Now it needs a warm resting place in order to become yogurt. If you have an older gas oven, it may have a pilot light that keeps it warm when the oven isn't on. Stick the small pot in there, covered with the lid. (If you're like me, stick a post-it on top of the oven knobs so you don't turn the oven on while it's in there!) You may not have a pilot light, but your oven light will keep it toasty enough. Set the covered pot in there with the light on. My light burned out after 2 1/2 years, though, and we can't figure out how to get the special cover off it. In the winter, I set the pot by the wood stove. You could also put it in a cooler with a jar of boiling water.
Without a pilot light, oven light, large enough cooler or woodstove heat (it's May), I came up with a simple incubation trick. Put the small pot back inside the large one, and put some very hot tap water in the big pot. Then insulate it with a towel:

Leave it for several hours, and presto! You've made yogurt! It's thick, and not as sour as the store's plain yogurt. Put in in a container and stick it in the fridge. OR you can get some whey out of this creamy yogurt. Why would you want whey? It's a gold mine of probiotics, and is used in making other fermented foods. If you want to get the whey from your yogurt, get a colander and a bowl.
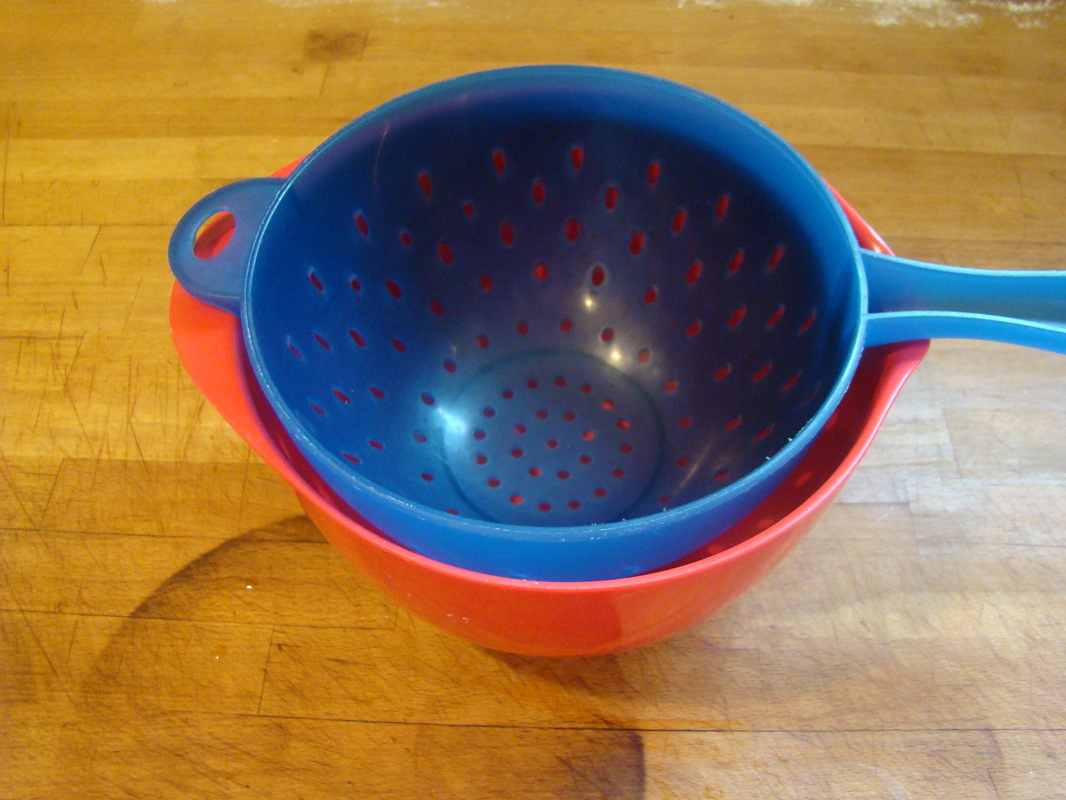


Set the colander in the bowl, then line it with a thin dish towel. Scoop a spoonful of yogurt out to save as your next starter, then dump the rest into the towel. Recipes tell you to leave it for hours, but I usually just do a few minutes. I pick up the towel and whey pours out in a stream, as you can see! In a couple of minutes, I've got plenty. Today I had half a jar in the fridge already, so I filled it up to the top.
Scoop the yogurt into a container. Your hands will get messy, since there's no easy way to scrape it off the towel! And now you have whey as well as yogurt. Simple!
Some Tips:
~ I use pasteurized milk from a nearby dairy. It's gently pasteurized, not ultra pasteurized. Don't waste time and money trying to culture ultra-pasteurized milk! It won't work! Sadly, most organic milk in stores are this type. Try to find nice local milk instead. Raw milk is much easier and healthier for yogurt, but we only use ours for drinking. The six of us drink a lot of milk, and we save money by using cheaper pasteurized for yogurt and all our cooking. It's $1.75 to buy this milk at the dairy, but $2.50 for the raw.
~ I don't do all the extra work of sterilizing all the equipment, because I've read in many fermenting books that it's not necessary. It's actually better to use very clean but not sterile equipment. I make sure it's all clean, either washed in hot, soapy water or the dishwasher.
~ Take the spoonful of starter out when you make the yogurt, instead of using the last bits from your jar. When you've had spoons in there, scooping out servings all week, the cultures can be damaged. BUT don't despair if you forget! I've made plenty of batches from the last bits, when I forget.
~ If you make a batch and it stays milk after hours and hours, don't give up. Just stir some store-bought yogurt into the warm milk, incubate again, and it'll work. Your starter will sometimes get old or contaminated, and stop working. Mine tend to last months, or even over a year.
~ Feel the sides of the large pot while it's incubating to make sure it's still pretty warm. If it gets more lukewarm, just boil some water (a cup or two) and quickly pour it in to warm things up in there.
 RSS Feed
