A few years ago, my friend Kathy showed me how to crochet. She taught three of us women to make rag rugs, which involved tearing sheets into strips and then crocheting the strips into a rectangle rug. I've made lots of rugs, and eventually started crocheting with yarn too.
The other day, I was rummaging through my stash of old clothing and noticed a lot of old jeans. They'd been sent there due to big stains, paint spatters and holes. I can't bear to throw out old clothes because I know that someday I'll need material for something. Maybe the kids will want to make something, and I'll wish I had some old material on hand. Or perhaps I'll see an idea on pinterest that strikes my fancy.
An idea came to me all on its own, no social media required: why not crochet something from the jeans, just like I do with sheets? It would make a stronger, thicker rug. I tried a few stitches, and loved the outcome. But then a pinterest idea did jump to mind. I knew I'd pinned a crochet pattern for a basket. That one used 3 strands of thick yarn, so jeans seemed like a good substitute.
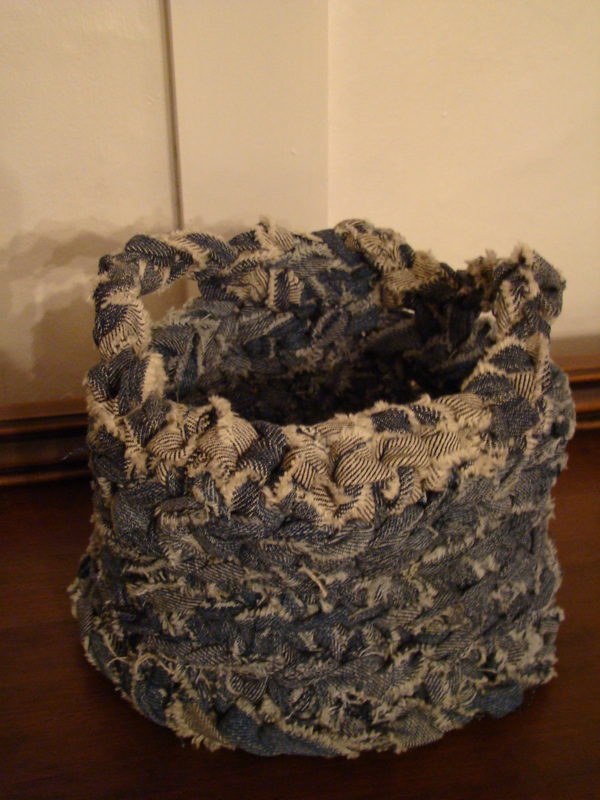
The pattern I followed is by Crochet in Color, her chunky basket. I love the look and feel of jeans in this basket! It's very sturdy, and very unique. Check out her pattern for exact details, but here's the basic method with jeans:
The other day, I was rummaging through my stash of old clothing and noticed a lot of old jeans. They'd been sent there due to big stains, paint spatters and holes. I can't bear to throw out old clothes because I know that someday I'll need material for something. Maybe the kids will want to make something, and I'll wish I had some old material on hand. Or perhaps I'll see an idea on pinterest that strikes my fancy.
An idea came to me all on its own, no social media required: why not crochet something from the jeans, just like I do with sheets? It would make a stronger, thicker rug. I tried a few stitches, and loved the outcome. But then a pinterest idea did jump to mind. I knew I'd pinned a crochet pattern for a basket. That one used 3 strands of thick yarn, so jeans seemed like a good substitute.
The pattern I followed is by Crochet in Color, her chunky basket. I love the look and feel of jeans in this basket! It's very sturdy, and very unique. Check out her pattern for exact details, but here's the basic method with jeans:
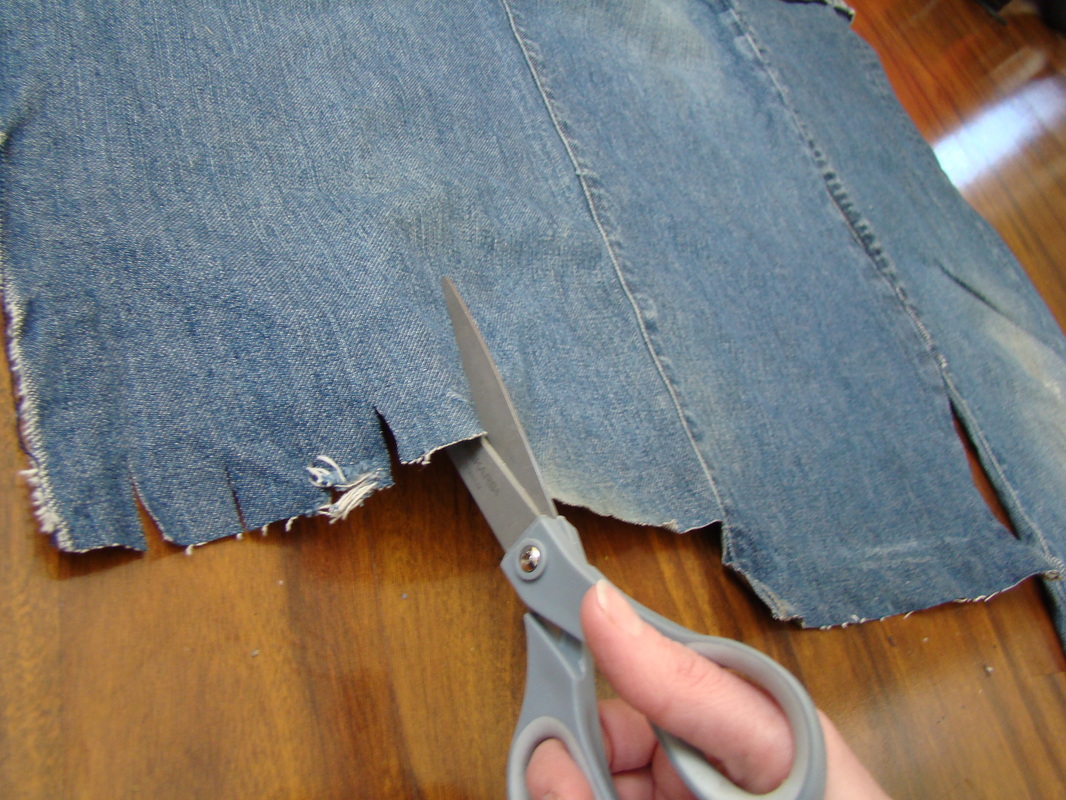
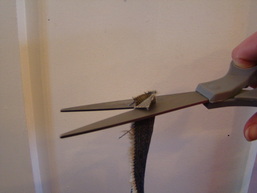
| 1. Cut the legs off of (washed!) old jeans. Then cut each leg into strips about one inch wide. You'll have a triangle scrap leftover since they're not exactly straight, which you can save for some kid craft that may come (or throw it out if you're not like me). I cut a notch and then rip down it, and get nice, even strips without much cutting. | 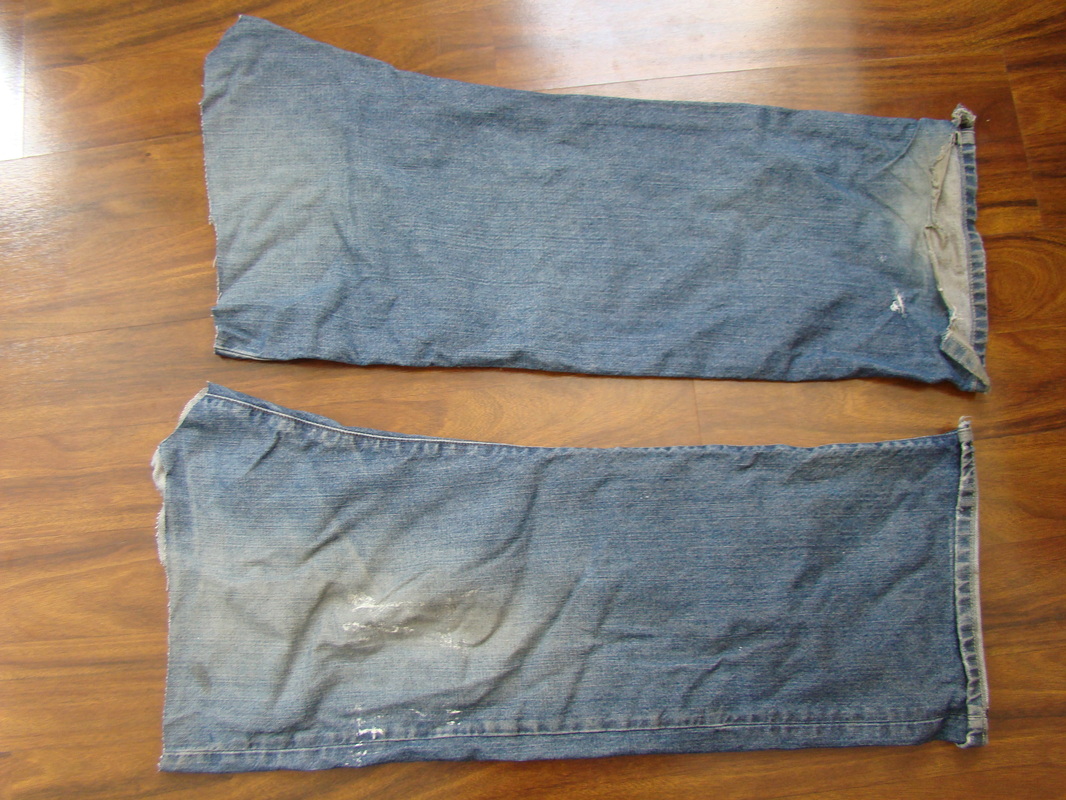 |
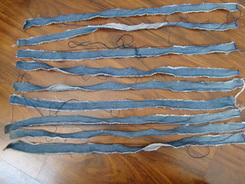  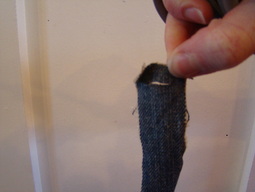 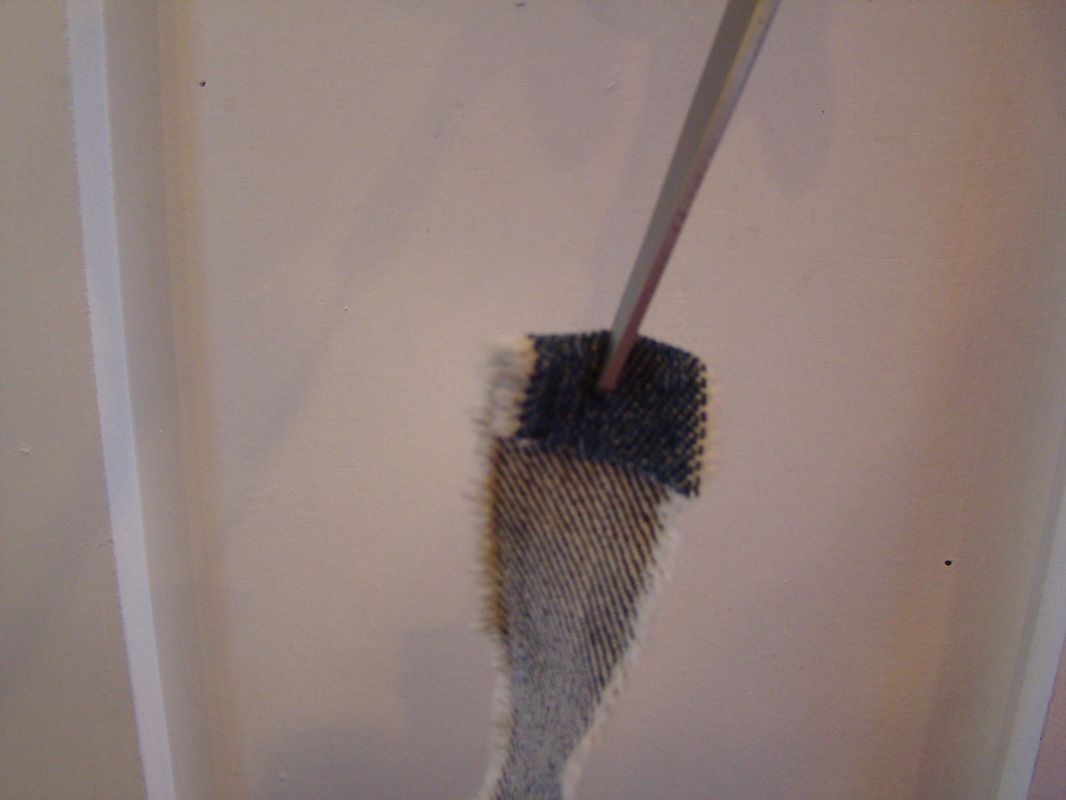 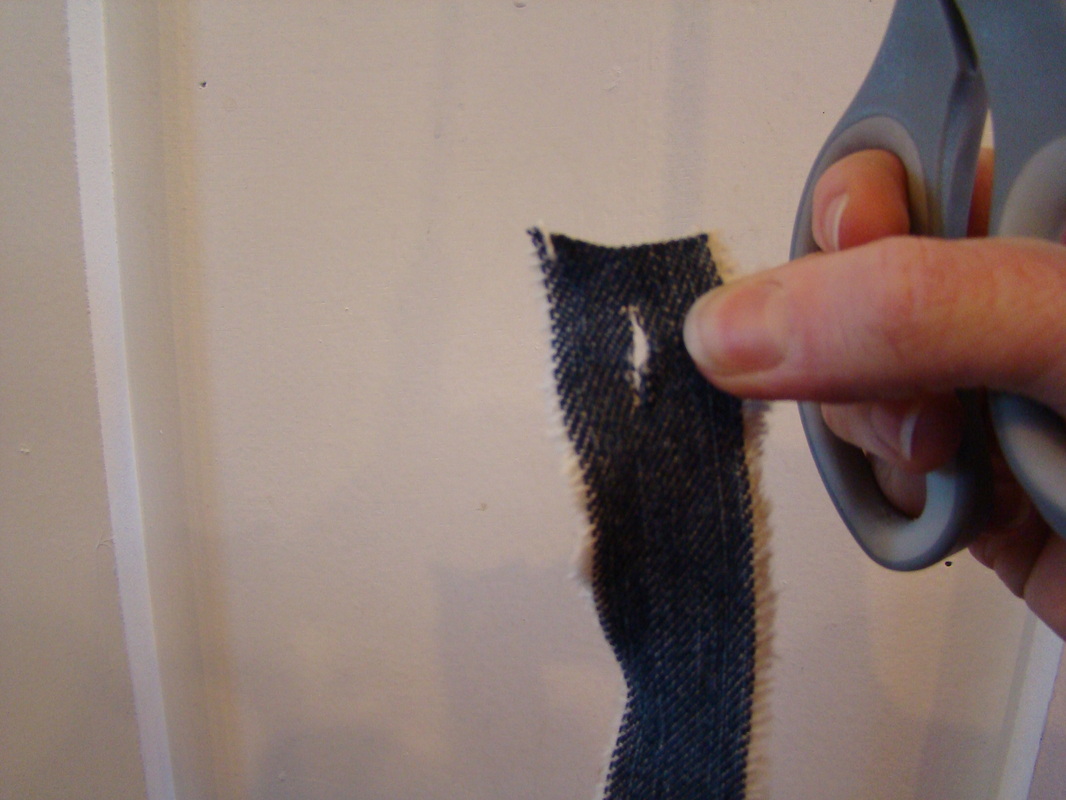 | You've now got a small pile of strips. You can cut a couple pairs of jeans all at once. I think this small basket used three adult legs. Next you'll start crocheting! I use a very large hook for rugs, but I wanted this to be tightly woven. I used an H hook (5mm). You'll want to join them without knots, since they're thick. Kathy taught us a really simple way to do this. It's wordy to write, but if you try it you'll find it very easy! Pull the loose threads away, then fold the strip and cut a small vertical hole at the end of one strip. Cut a horizontal line in another. |
Now you're ready to crochet! This pattern uses a circular base. Then you crochet walls up the edge stitching of the base. As you can see, it's very stiff, so the sides don't collapse as they grow.
 I made my basket smaller than hers. After 4 rows up, I added the handles and finished. It's a cute little basket that looks pretty when it's filled! We gave this first one as a birthday gift, filled with craft supplies for my kids' friend. | 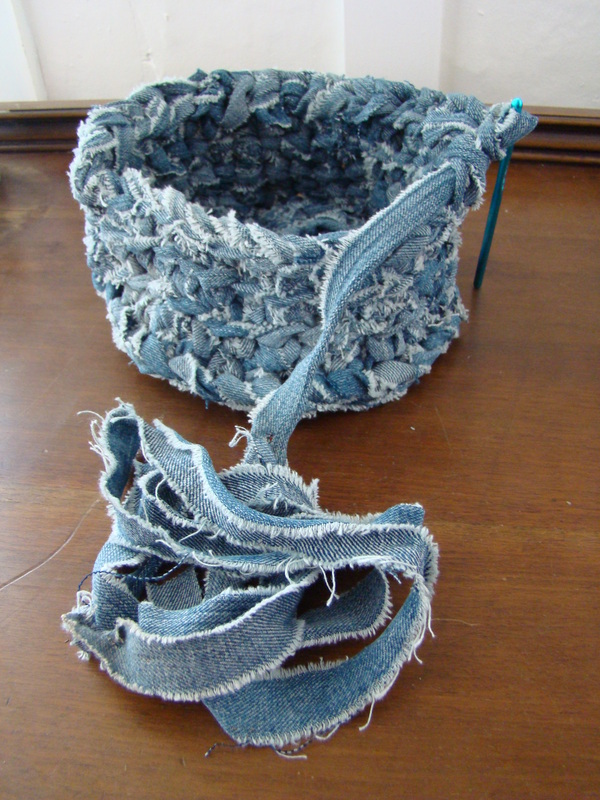 |

 RSS Feed
